Facebook Conversion Tracking Documentation
HomeFacebook Conversion Tracking Documentation

Using the Facebook Conversion Tracking app in Commerce7

How To Start

You will need a Facebook Business Manager account in order to use this app. Even without this app, we always recommend using the business manager to handle your advertising on Facebook. 

Don’t have one? Here is a handy guide to getting started: 

If the following steps are too daunting, we do offer a low cost white glove service to perform the setup. Just email us at michael@5forests.com to schedule your installation. 

Once you have a business manager account set up, you will also need an Ad Account with a valid payment method and a Facebook Pixel attached to that ad account. The link above goes over how to set those up. 

From there, create an Offline Events set by going to your Business Settings, find “Data Sources” in the left column, and click “Offline Events”.  
The blue “Add” button is used to create a new set. Press that, give it a name, and create it.
Connect your ad account to the newly created event set by pressing the “Add Assets” button, then selecting your ad account, and hitting save.
You should also add the people who might need access to it as well by pressing the “Add people” button and choosing the accounts who need access. 

Click the “Open in Events Manager” button:
Find the settings tab, and go into the “Manage Auto Tracking” section. Click that button and ensure your ad account is checked, and press save.
At this point you should have a fully set up business manager account, an ad account with billing enabled, a facebook pixel attached to that ad account, and an offline events set also attached to the ad account. 

Write down your Pixel ID and your Offline Event set ID. You will need those 2 for the app installation. 

The next step is to create a Facebook app. To get started, first click this link. https://developers.facebook.com/apps/

This will take you to the Facebook for developers site. Follow the steps to connect your account if required, and then click Create App.
Next, select “For Everything Else”
Enter a display name, (it doesn’t matter what you enter in this field). Then enter a contact email. This should be an email address you check regularly. Select your business manager account. Click Create App ID when you’ve entered your information.
Scroll down and click “Set Up” under “Marketing API” 
Next, click Settings > Basic in the left menu. In the apps basic settings, provide an email address and a link to your privacy policy URL. Set the app category to “businesses and pages”.
Scroll down and click “add platform” and select website, then type in your website URL.  
In the top menu bar, click the In Development toggle so the app goes live. Review if any alerts pop up (usually for missing information).
The next thing needed for installation is a system user token. So let’s first create a system user and then generate a token. 

1. Visit Business Manager > Business Settings. 
2. Select System Users in the left menu. 
3. Click the blue Add button in the center column. 
4. Select Admin System User as the role for the system user. 
5. Click Add Assets on the newly created system user and select your new app and your ad account. Toggle the first permissions option on each. 
6. Select the system user and click Generate New Token.
7. Select your app, and under scope, select ads_management if it’s not already selected.

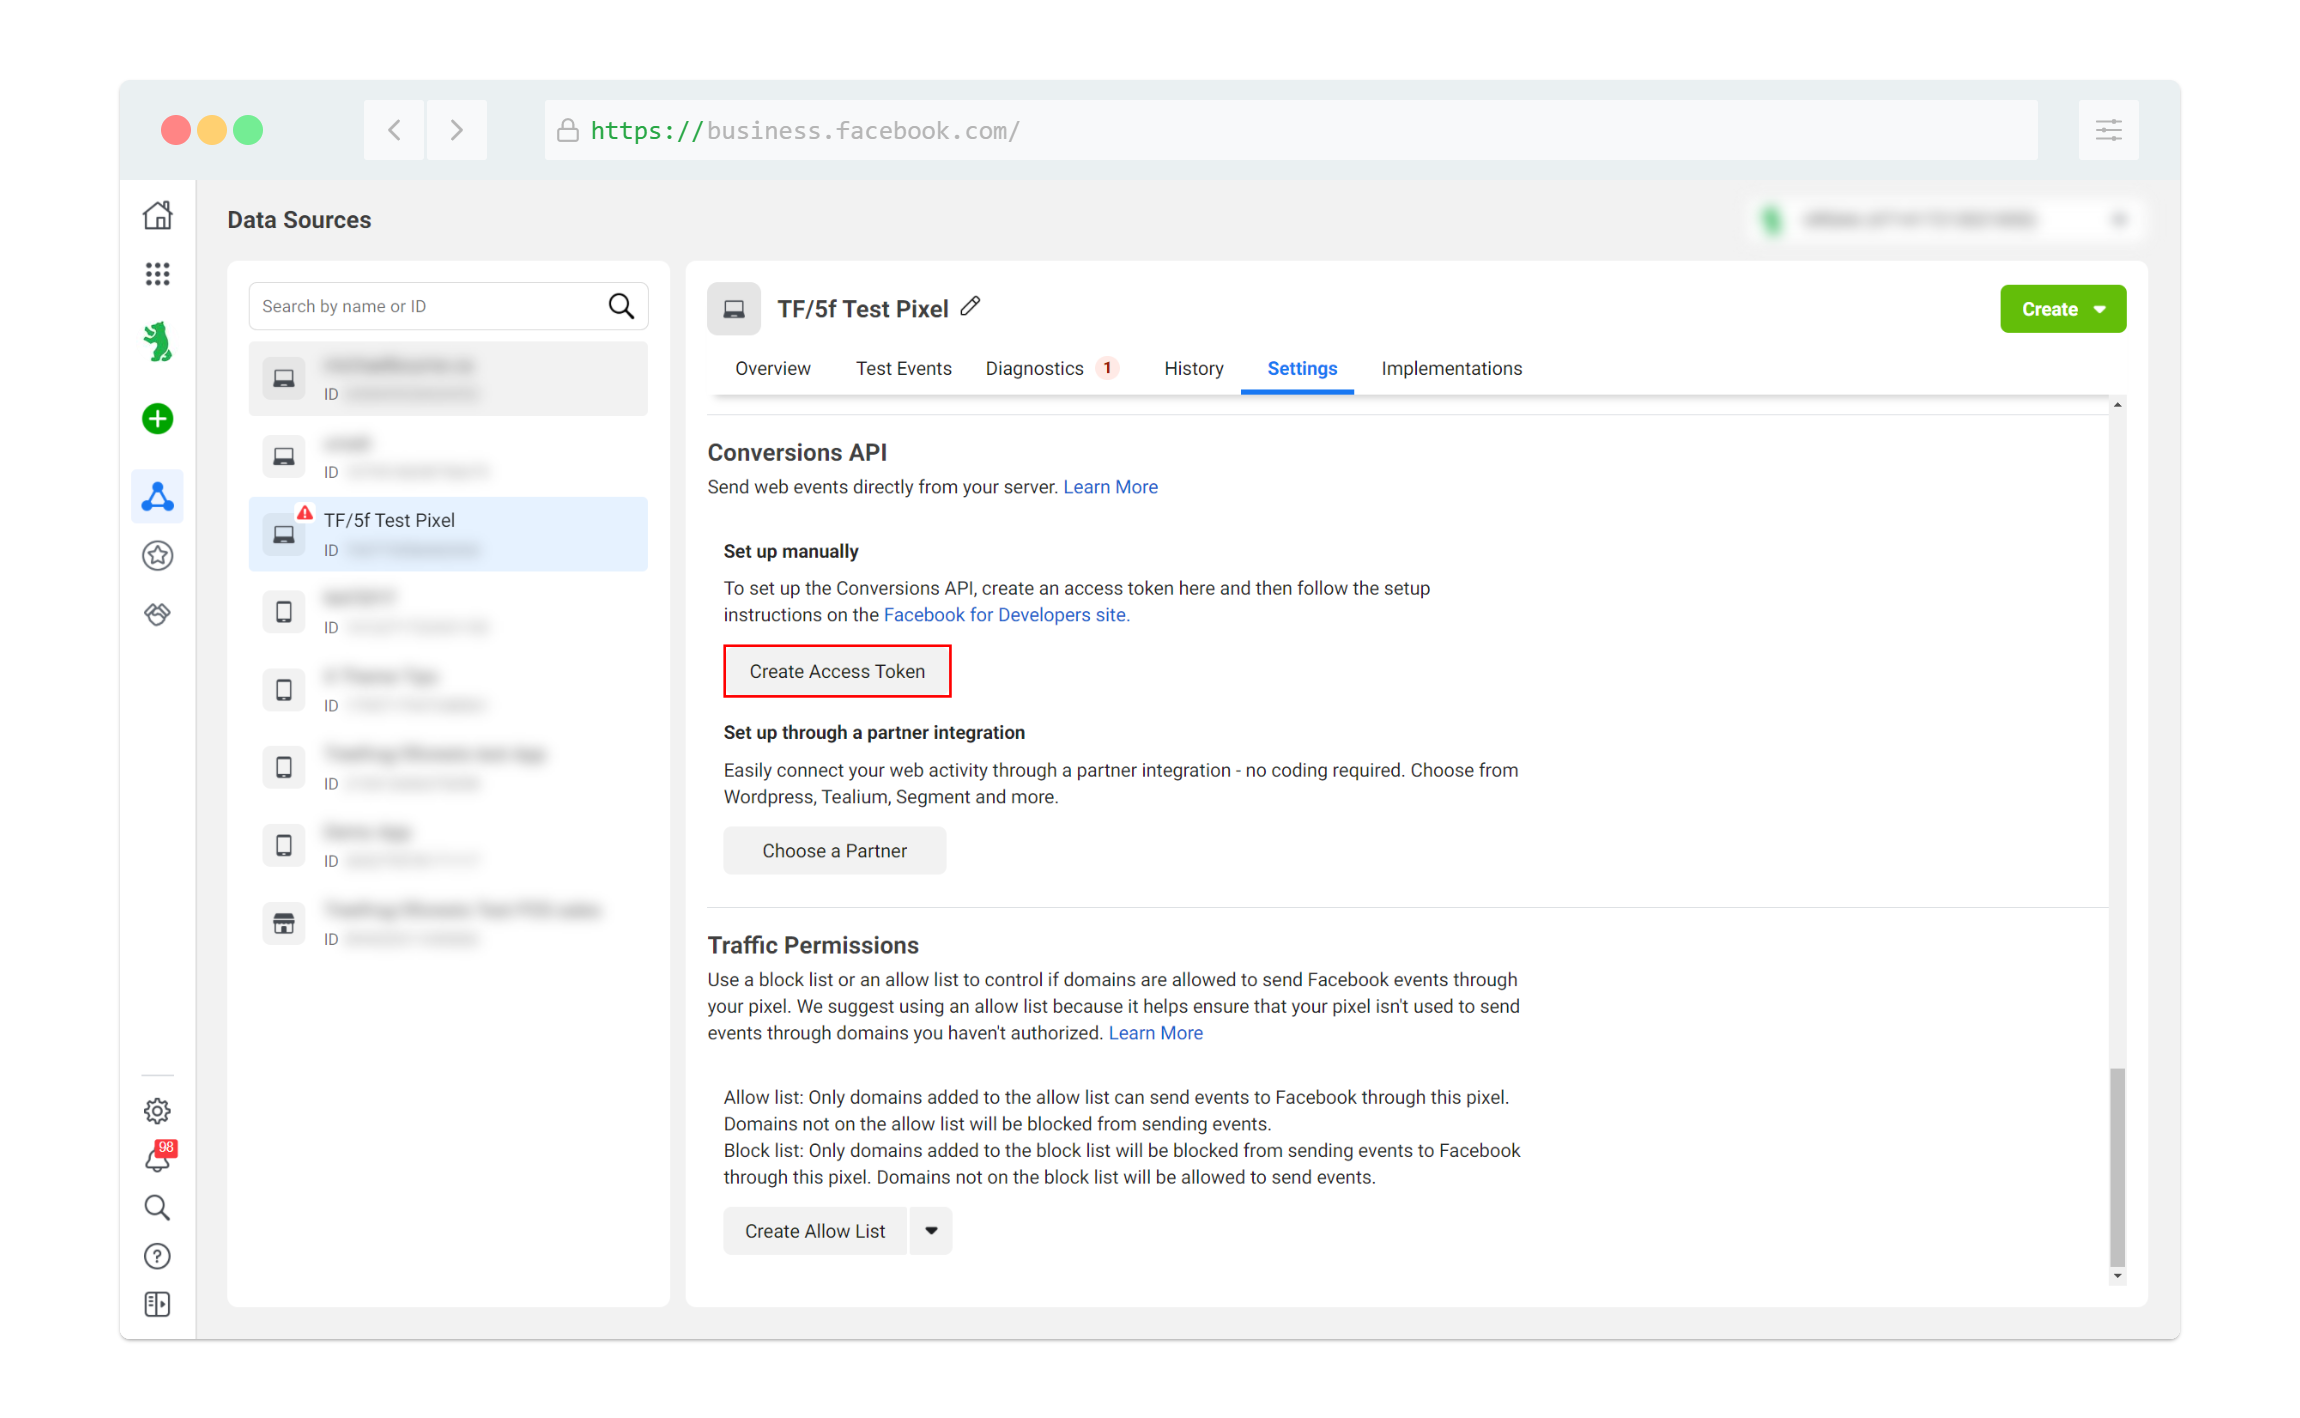
The last piece of data needed for installation of this app is a Pixel token. Let’s go create that. 

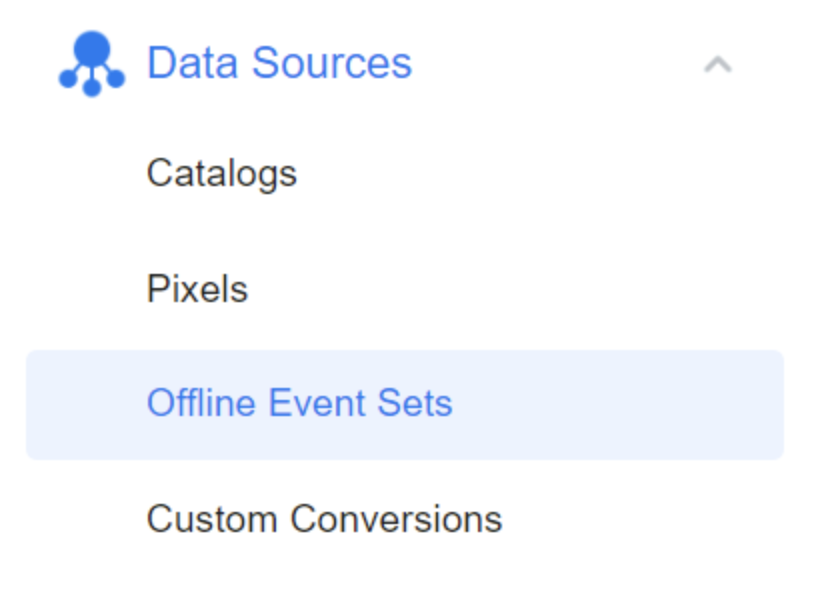
Visit Business Manager > Events Manager
Select your Facebook Pixel, then click Settings
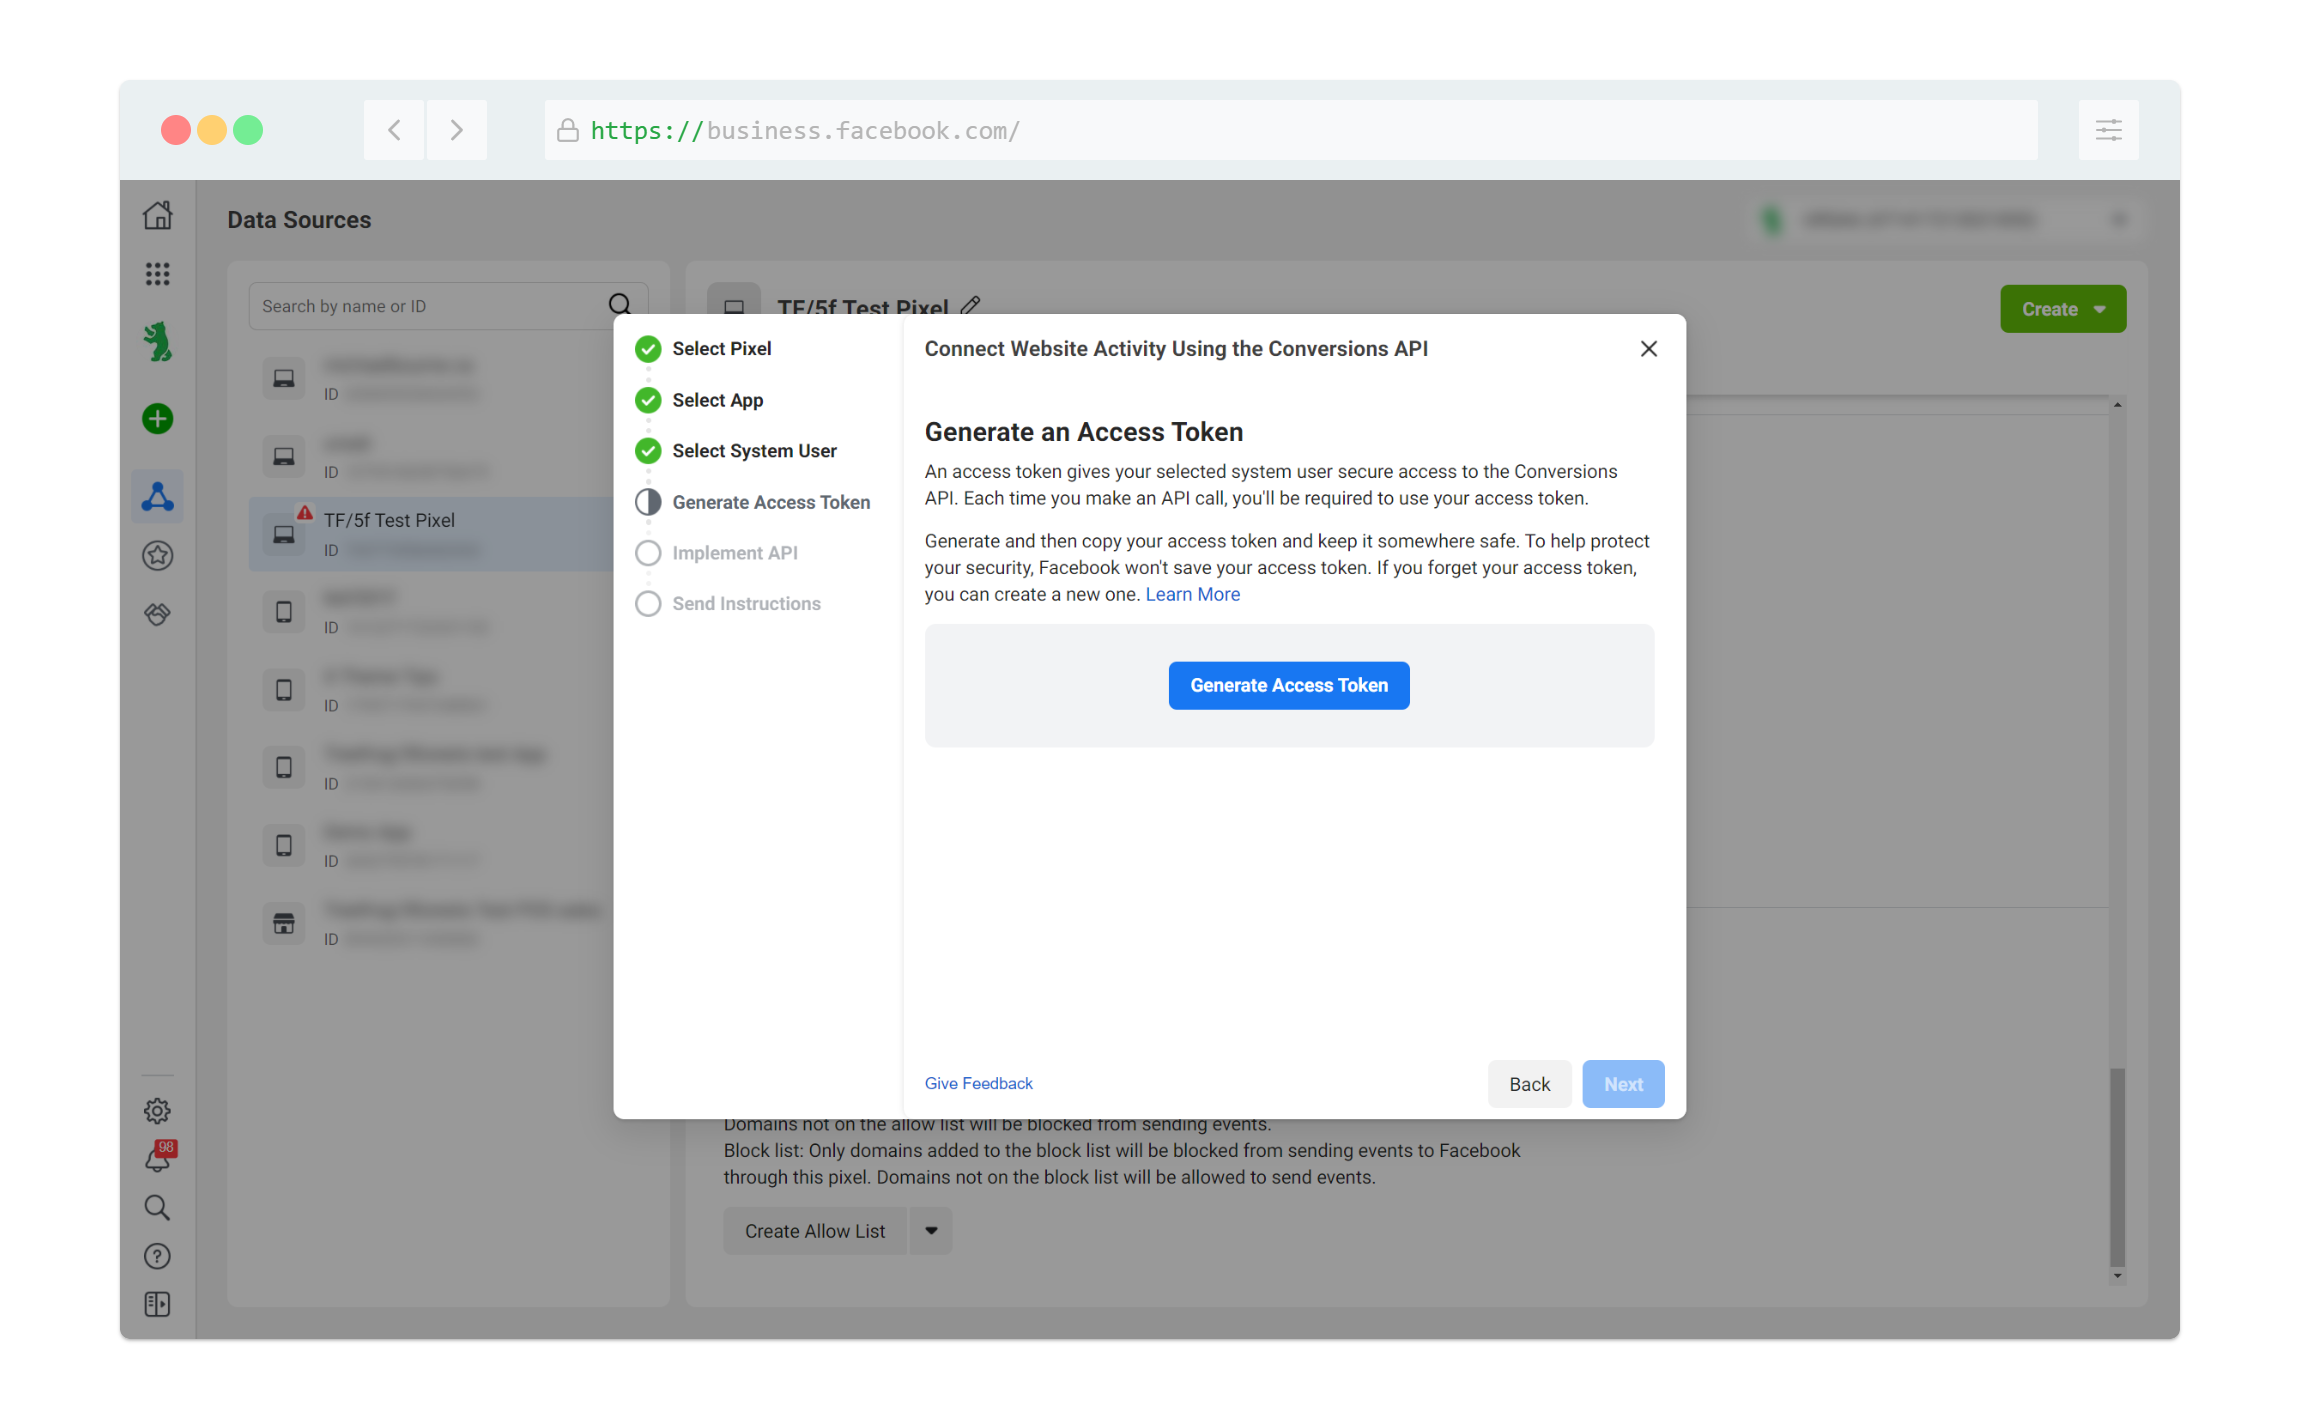
Under the Conversions API section, click Create Access Token
In the next pop up, press next, and then select your Pixel, your App, and your System User, then click Generate Access Token. Copy this somewhere safe, you will need it for the integration. You may close the popup after getting your token.
And we’re nearly there! Next, read the Commerce7 setup instructions
The next step is to take the 4 pieces of data you collected: 

1. Offline Event Set ID 
2. System User Access Token 
3. Pixel ID 
4. Pixel Access Token 

Then log in to your Commerce7 admin panel. Select apps in the lower left, click “Facebook Conversion Tracking”, and paste those 4 values in the proper fields. 

Set up is now complete. 
Coming Soon

We're here to help

Helping your winery or brewery eCommerce platform to grow, adapt and evolve to take it to the next level.
We are a Commerce7 trusted partner. With 20 years of experience in web development we are committed to provide an amazing experience during your projects with us.
Follow Us
Works with AZEXO page builder