Order Thermal Printer Documentation
HomeOrder Thermal Printer Documentation

Using the Order Thermal Printer App

Commerce7 is integrated with the Epson TM-T88VI-i Receipt Printer. By using this app, you can print receipts in the Epson receipt printer. 

How To Start

To set up this integration, first navigate to your Apps page and click on Order Thermal Printer.
On the installation window add your Printer ID and Printer Name for each receipt printer you’d like to add to Commerce7. 


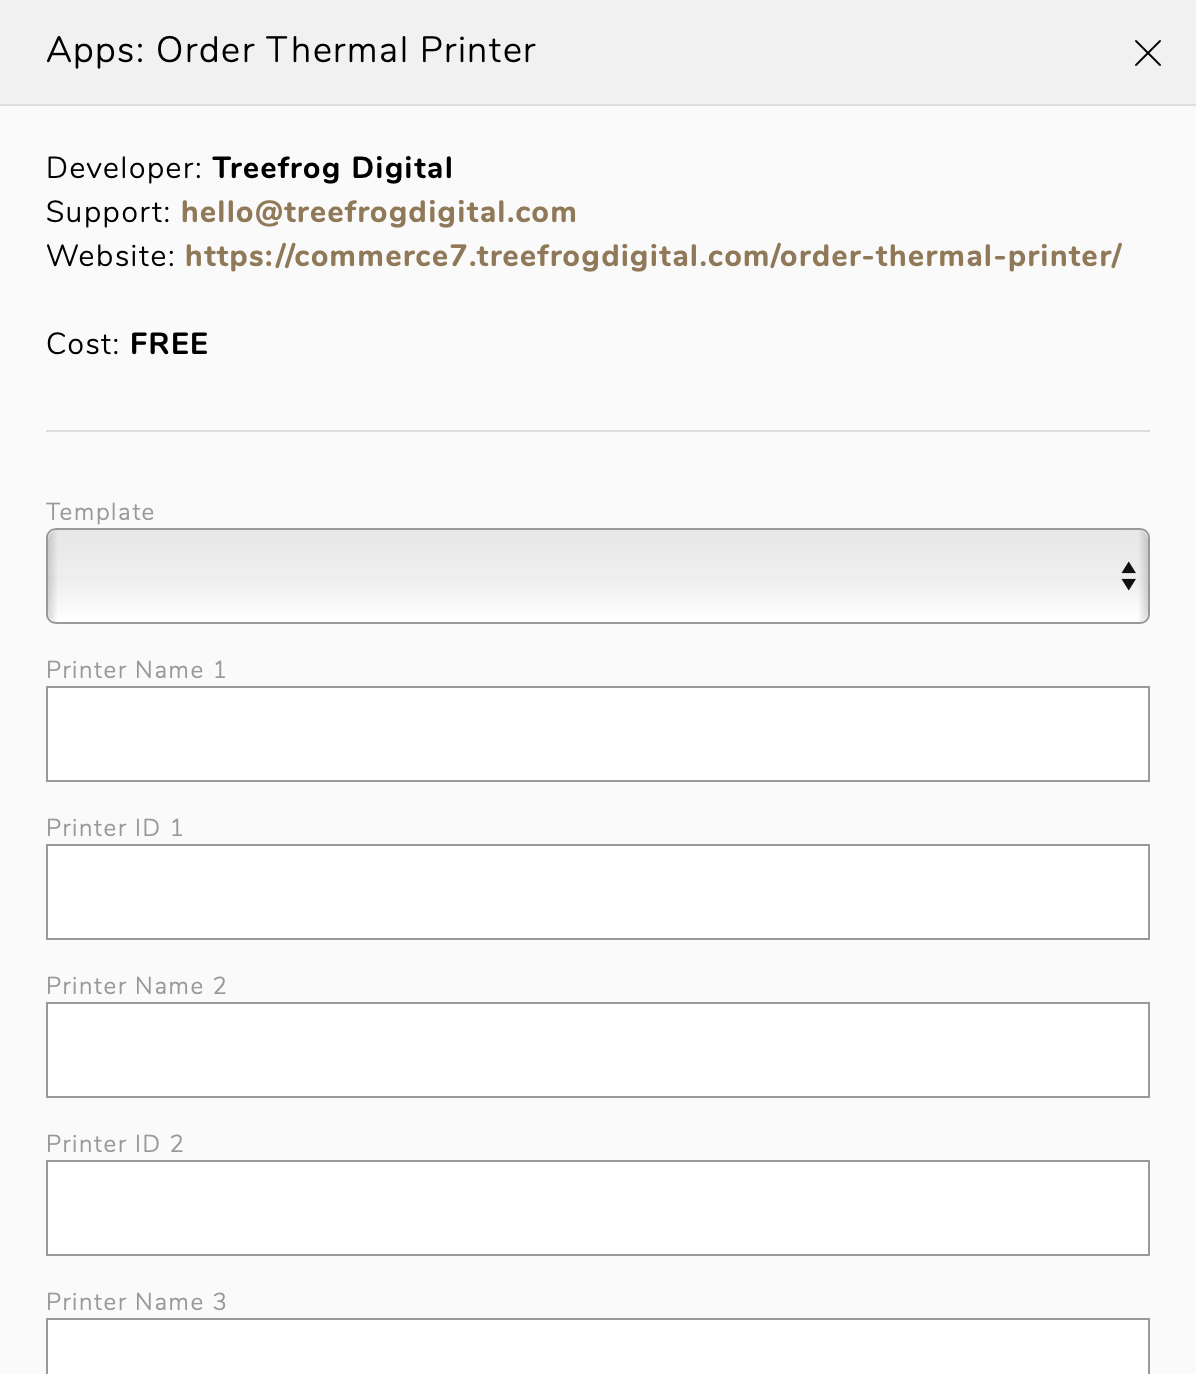
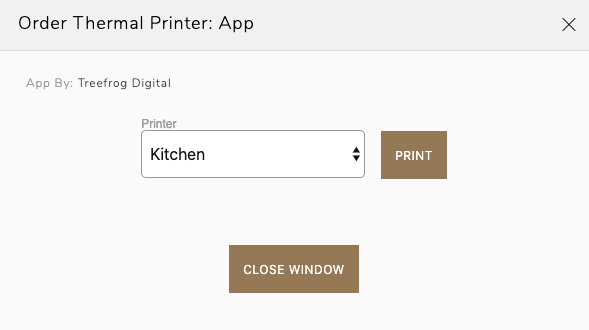
Printer ID: Create your own 6-30 digit, alphanumeric ID. You cannot have spaces or use special characters in this ID (numbers and letters only). 
Printer Name: Give your receipt printer a title. Staff will select a printer by title when deciding which printer to send receipts to. Example titles could be “Printer1”, “Counter Printer”, etc. 
After entering all your receipt printers, click “INSTALL”.
To set up the actual receipt printer, follow the instructions below.
  1. 1. Install supplied sample paper roll into the printer.

  2. 2. Plug in the printer to a Cat5/Cat6 Ethernet Jack on your local network, and plug in the power and turn the printer on.

  3. 3. Wait 1 minute and the printer will startup and print the local IP address it obtained from your network.

  4. 4. Type in the IP address into a web browser from a computer on the same network (Example: http://192.168.1.78)

  5. 5. Login with the following credentials – Username = epson, Password = epson.

  6. 6. You will see the EpsonNet Config page as below, click “EpsonNet Config for TM-i”
7. You will see the EpsonNet Config for TM-i as follows
8. Click “Server Direct Print” 


You can find your tenant id in Commerce7 Admin > Settings > General > Tenant
Interval = 30. (Do not set less than 30 seconds or service may be throttled). 
ID = The ID of the printer you configured earlier in the app installation panel. 
Name = The ID of the printer you configured earlier in this documentation in the app installation panel. 

9. Under Device Admin click Printer and the following page will be displayed. 
Device ID = The ID of the printer you configured earlier in this documentation in the POS profile section of the Commerce7 admin panel. 
IP Address = Enter the internal IP 127.0.0.1 

10. Click Apply and Restart.
Create a POS order. After charging the order there will be an option to print a receipt. 
Select the printer you’d like to have the receipt sent to, and click “print receipt”.

We're here to help

Helping your winery or brewery eCommerce platform to grow, adapt and evolve to take it to the next level.
We are a Commerce7 trusted partner. With 20 years of experience in web development we are committed to provide an amazing experience during your projects with us.
Follow Us
Works with AZEXO page builder